
If your trailer sway or the hitch feels loose, the safety of your load is at risk. A worn or mismatched hitch can cause uneven weight distribution and lead to loss of control. This guide shows you how to replace a trailer hitch correctly.
We focus on the steps, tools, and safety checks that matter.
According to NHTSA, improper hitch installation contributes to roughly 12% of towing incidents each year. Manufacturer specifications indicate a torque of 75 ft‑lb for Class III bolts. Follow these steps and you’ll meet SAE J684 standards and keep your trailer secure.
Let’s walk through the process.
How to Replace a Trailer Hitch
Replace the hitch to restore safe towing.
Confirm the vehicle’s GVWR before starting.
Choose a hitch that matches the trailer weight rating.
Install using the manufacturer’s torque specification.
Verify safety chain and wiring before the first trip.
Problem & Why Replacement Matters
A loose or corroded hitch can shift under load, causing trailer sway. This movement stresses the coupler and can detach the trailer. Replacing the hitch eliminates those failure points.
Common signs include rust on mounting bolts, uneven tire wear, and a humming noise. If the hitch does not sit flush, the tongue weight is likely off. Incorrect tongue weight reduces braking effectiveness.
- Rust or corrosion on mounting hardware
- Uneven tire wear on trailer wheels
- Excessive sway during highway driving
- Missing or damaged safety chain
- Loose or stripped bolt holes
Addressing these issues early prevents costly repairs. Use budgeting for hardware to plan for new bolts and hardware. For detailed incident statistics, see NHTSA towing safety data.
Core Components & What to Choose
A trailer hitch consists of the receiver, ball, coupler, and mounting hardware. Selecting the right components ensures proper load distribution and compliance.
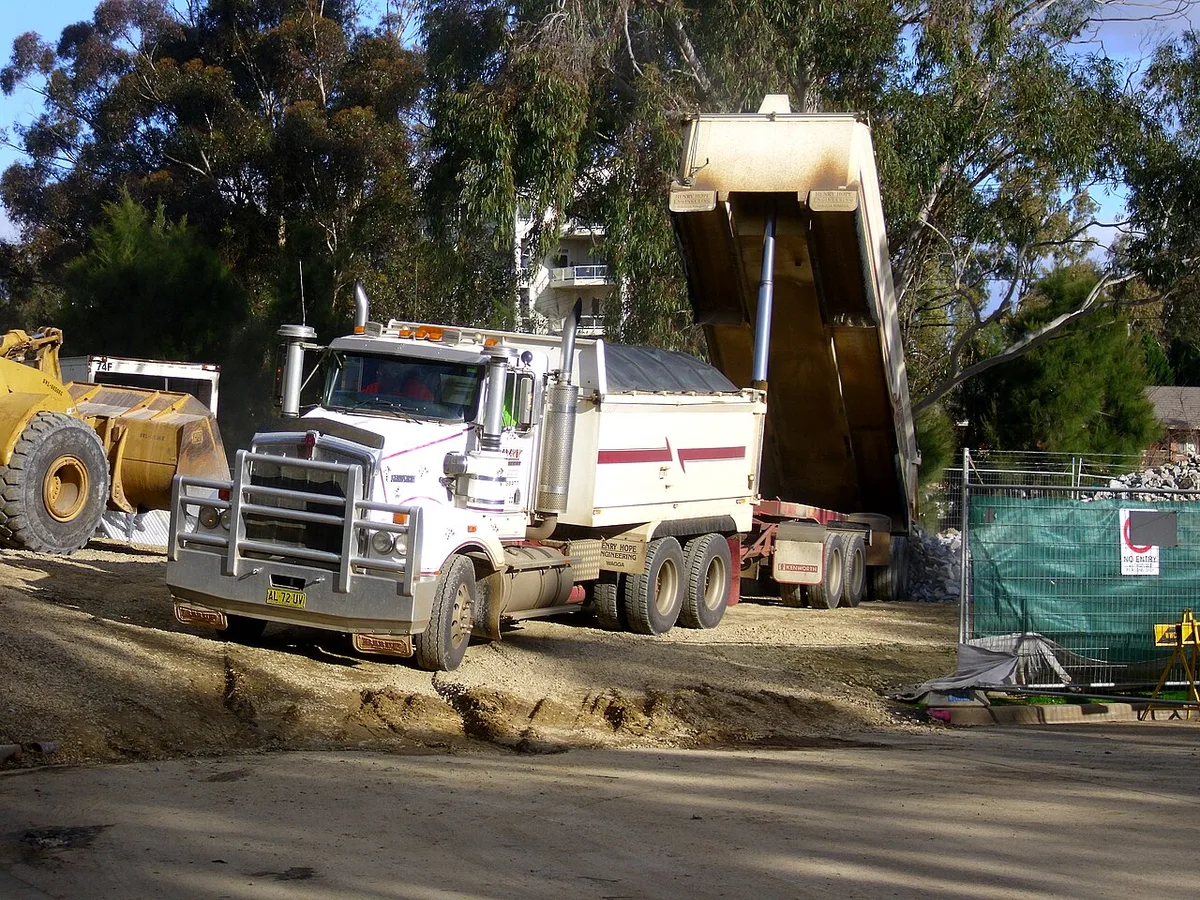
Image source: Wikimedia Commons / Bidgee (CC BY-SA)
Choose a hitch class based on your trailer’s Gross Trailer Weight (GTW). Use the table below to match class, receiver size, and typical use.
| Class | Max GTW | Receiver Tube | Typical Use |
|---|---|---|---|
| I | 2,000 lb | 1.25 in | Light boats, small campers |
| II | 3,500 lb | 1.5 in | Mid‑size trailers |
| III | 8,000 lb | 2 in | Travel trailers, larger boats |
| IV | 12,000 lb | 2.5 in | Heavy‑duty, commercial |
Materials matter: steel offers strength, aluminum reduces weight. Finish affects corrosion resistance; powder‑coat lasts longer in salt‑prone regions. For detailed specifications, refer to the SAE J684 trailer coupling standard.

Image source: Wikimedia Commons / Birmingham Museums Trust, Duncan, 2008-10-08 08:19:34 (CC BY-SA)
Key components to inspect before installation:
- Receiver tube for dents or wear
- Ball shank for correct diameter and length
- Coupler latch mechanism for smooth operation
- Mounting bolts for proper thread condition
Selecting components that match your towing needs keeps the system reliable. Use protecting the bed as an analogy; the right cover protects your truck, the right hitch protects your trailer.
Step-by-Step Replacement Workflow
Follow these steps in order. Each step builds on the previous one.
- Verify vehicle Gross Vehicle Weight Rating (GVWR) and trailer GTW.
- Remove old hitch bolts using a socket or impact wrench.
- Clean mounting area; inspect for rust or damage.
- Position new hitch, align bolt holes, and insert bolts.
- Torque bolts to manufacturer spec using a calibrated wrench.
- Attach safety chain to vehicle’s anchor point.
- Connect trailer wiring harness and test lights.
- Perform a short road test at low speed before highway travel.

Image source: Wikimedia Commons / U.S. Navy photo by Mass Communication Specialist 3rd Class Shawn J. Stewart
Torque values per class:
- Class I: 55 ft‑lb
- Class II: 65 ft‑lb
- Class III: 75 ft‑lb
- Class IV: 90 ft‑lb
Use tightening bolts efficiently to achieve consistent torque without over‑tightening. After installation, confirm the coupler locks securely and the safety chain is within 12 in of the ground.
Safety, Legal & Mistakes to Avoid
Safety chains must be rated for the trailer’s weight and attached to both vehicle and trailer. Wiring must meet SAE J684 lighting requirements. Ignoring these points can lead to fines or accidents.
Common mistakes:
- Using a hitch with a lower class rating than the trailer weight
- Failing to torque bolts to spec, leading to loose connections
- Forgetting to reconnect the trailer brake controller on electric brakes
- Installing the hitch on a vehicle not equipped with a tow package
Legal requirements vary by state; always check local DOT guidelines. Ensure the trailer’s tongue weight is 10, 15% of its GTW for stability. Use knowing the tow anchor to locate the proper safety chain attachment point.

Image source: Wikimedia Commons / U.S. Navy photo by Mass Communication Specialist 1st Class Richard Doolin
Before each trip, double‑check:
- All bolts are torqued
- Safety chain is attached and not dragging
- Wiring harness is connected and lights work
- Trailer is loaded within weight limits
Following these steps keeps you compliant and safe on the road.
