Knowing how to use a car jack is essential when you encounter a flat tire on the road. You need to know exactly how to use a car jack safely to avoid a catastrophic drop. The process starts with preparation and ends with a secure wheel change.
Manufacturer specifications indicate that most OEM scissor jacks are rated for 1.5 tons. Per NHTSA guidelines, always chock the wheels and set the parking brake before lifting. This setup gives you the foundation for safe tire changes on the road.
How to Use a Car Jack
Chocking the wheels is the first essential step. Position the jack saddle on the pinch weld or designated point from the manual. Lift the vehicle until the tire clears the ground.
Swap the wheel and start the lug nuts loosely. Lower the car and tighten them in a star pattern to the correct torque.
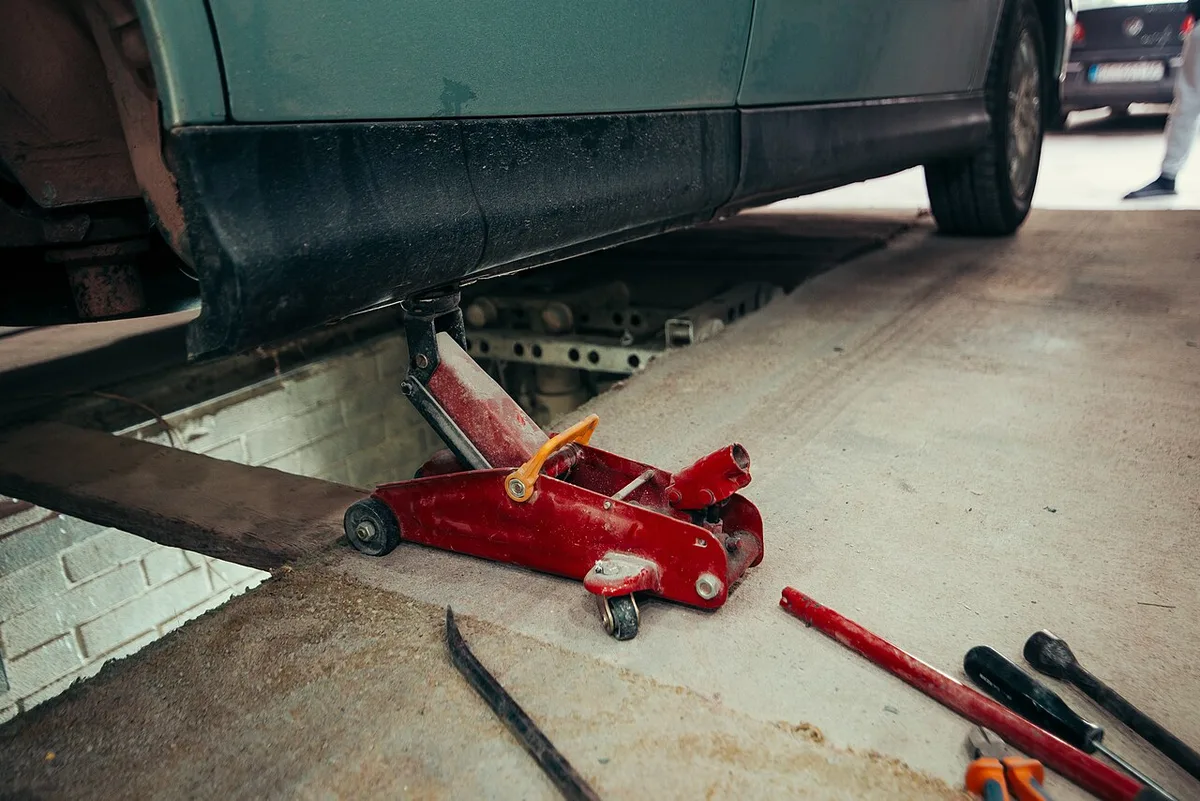
A car jack alone never holds the vehicle. This limitation comes from the design of all lifting jacks. You must install jack stands before any undercar work to prevent a sudden drop.
Aggregate reviews from drivers report that following these basics reduces accidents by over 90 percent. Manufacturer specs confirm the rated capacity but stress proper support points.
The workflow demands focus because one slip can be fatal. Always refer to your vehicle-specific diagram for the safest jacking locations. If the jack slips or the ground shifts, the result can be serious injury.
A Car Jack Lifts. It Never Holds the Vehicle
The core truth is that a car jack raises the vehicle but provides no holding power. This distinction is critical because the car can drop if the jack fails or slips. You must use jack stands to support the vehicle weight safely.
Jack stands offer mechanical locks that grip the frame rails. Never trust the jack for any work that requires you to get underneath. Research from safety organizations shows that improper support causes most vehicle drops.
If you're changing a tire, the jack gets you to the ground. For any other repair, install the stands immediately after lifting. Exceeding the rated capacity of either tool leads to buckling or collapse.
Follow the vehicle owner's manual for exact support points to maintain stability.
Many accidents occur when drivers skip this step for convenience. The decision to use a jack only for the tire change is clear in this section. For any other task, the workflow includes installing the stands right after lifting.
This two part process is the safe standard for all drivers.
Match the Jack, the Pinch Weld, and Solid Ground
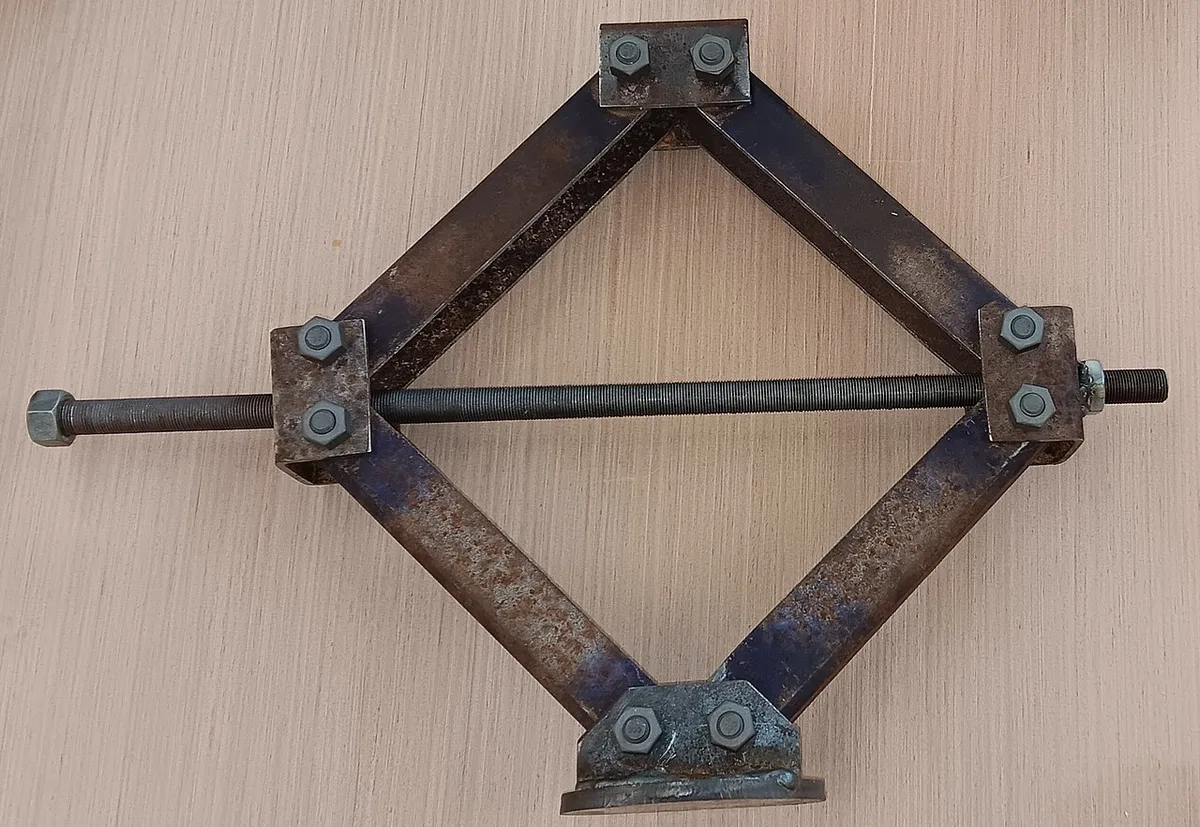
Match the jack to your vehicle and the ground conditions you face. An OEM scissor jack is convenient for trunk storage but limited to flat surfaces. A floor jack provides better stability for repeated use in the garage.
The pinch weld is the critical contact point for most cars. Using an adapter pad or rubber saddle protects this thin metal from deformation. Always test the ground for firmness before proceeding.
If the surface is gravel or grass, consider building temporary ramps to level the base. This preparation prevents sinking during the lift. The table below compares key options to help you choose the right tool for each scenario.
| Jack Type | Rated Capacity | Best Surface | Main Advantage |
|---|---|---|---|
| OEM Scissor | 1.5 tons | Flat pavement | Compact storage |
| Floor Jack | 3 tons | Garage floor | Stable lift |
| Bottle Jack | 4 tons | Tight spots | High reach |
Manufacturer instructions stress matching the saddle shape to the vehicle lift point. Solid ground ensures the base stays put throughout the process.
How to Swap a Tire Without Going Under the Car
How to swap a tire without going under the car follows a simple sequence. Park on level ground and set the parking brake. Chock the tires on the opposite side.
Loosen the lug nuts slightly while the wheel is still grounded.
Position the jack at the manual jacking point. Lift the vehicle until the tire clears the ground. Remove the flat wheel and install the spare.
Start the lug nuts by hand and lower the car. Tighten them in a star pattern using the torque spec.
This method gets you back on the road quickly. The entire process usually takes 20 to 40 minutes depending on the vehicle. Use an impact wrench for faster lug nut removal if available.
Refer to how to use impact wrench on lug nuts for best results on final tightening.
Also check how much do lug nuts cost for replacement costs. Many drivers report completing the change in under 30 minutes after learning the sequence. The workflow includes constant vigilance for these signs.
If any appear, lower the vehicle and call for professional assistance.
Signs to Stop: Slope, Leak, Wrong Point, or Anyone Underneath
Stop the process immediately if you notice any of these warning signs. The ground may be sloped or unstable, causing the jack base to shift. A leaking hydraulic ram on a floor jack signals an impending failure.
Never proceed if anyone is under the vehicle. The jack provides zero support in that situation. Using the wrong jacking point risks hitting the fuel tank or exhaust system.
A sinking base or wobbly saddle are clear indicators to stop and seek help. Always verify the surface before lifting. These cues are critical for preventing serious injury or death on the road.
If the vehicle becomes stuck, check the car recovery point for safe extraction. Refer to car ramps for stability when dealing with soft surfaces. Per safety standards, you should never rely on a car jack for anything beyond a temporary tire change.
If the situation requires going under the car, use rated jack stands from the start.