
If you notice a spongy brake pedal or a warning light on the dash, you’re likely dealing with symptoms of a bad brake master cylinder. The master cylinder converts pedal force into hydraulic pressure, so any loss of pressure shows up immediately. Look for fluid leaks, pedal sinking, or dark, foamy brake fluid, these are clear red flags.
Ignoring these clues can lead to complete brake failure, which is why early diagnosis matters.
FMVSS 105 requires a master cylinder to hold at least 900 psi; pressure drops signal internal seal wear. Bosch specifications list a typical service interval of 60,000, 100,000 mi, but leaks can cut that short. As of 2026, early replacement costs $80, $400, so catching symptoms early saves money and prevents safety issues.
Symptoms of a Bad Brake Master Cylinder
A spongy pedal signals loss of hydraulic pressure. Fluid leaks from the cylinder housing indicate seal failure. Pedal sinks to the floor during braking attempts.
Brake warning light illuminates when pressure falls below threshold. Dark or foamy brake fluid points to contamination inside the cylinder.
When the master cylinder’s internal seals wear, hydraulic pressure drops and the pedal feels soft. A leak at the cylinder body or reservoir lets air into the system, causing the pedal to sink slowly. If brake fluid appears dark, cloudy, or has a metallic smell, contamination from the cylinder is likely.
Checking the fluid level in the reservoir and topping it with DOT 4 fluid can reveal whether the issue is a leak or a failing cylinder, and you can verify the proper fluid level before proceeding.
Core Explanation / How It Works
The brake master cylinder houses a piston that moves when you press the pedal, forcing brake fluid through steel lines to each caliper. This hydraulic pressure must stay above 900 psi per FMVSS 105 to ensure each wheel receives enough force to stop the car. FMVSS 105 requirements define the safety threshold.
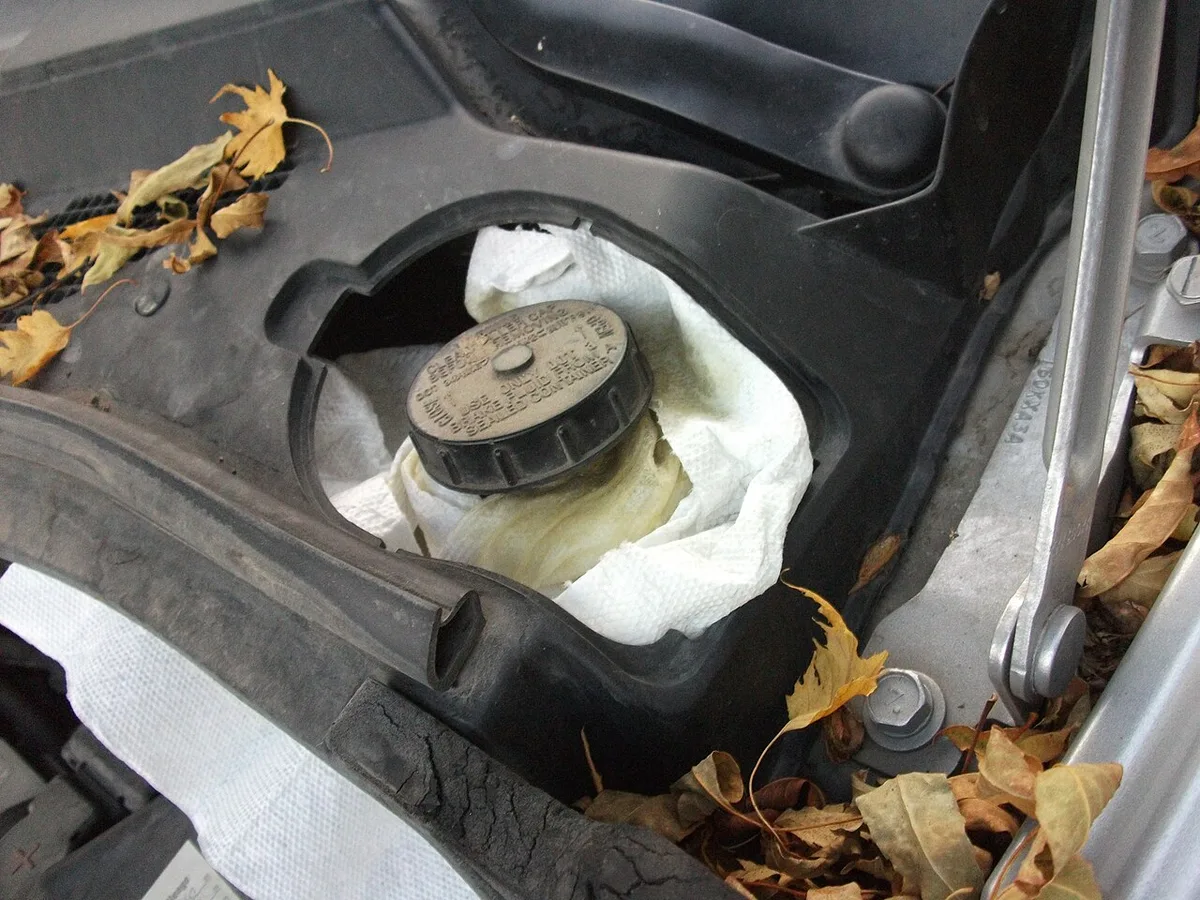
Image source: Wikimedia Commons / dave_7 from Lethbridge, Canada (CC BY)
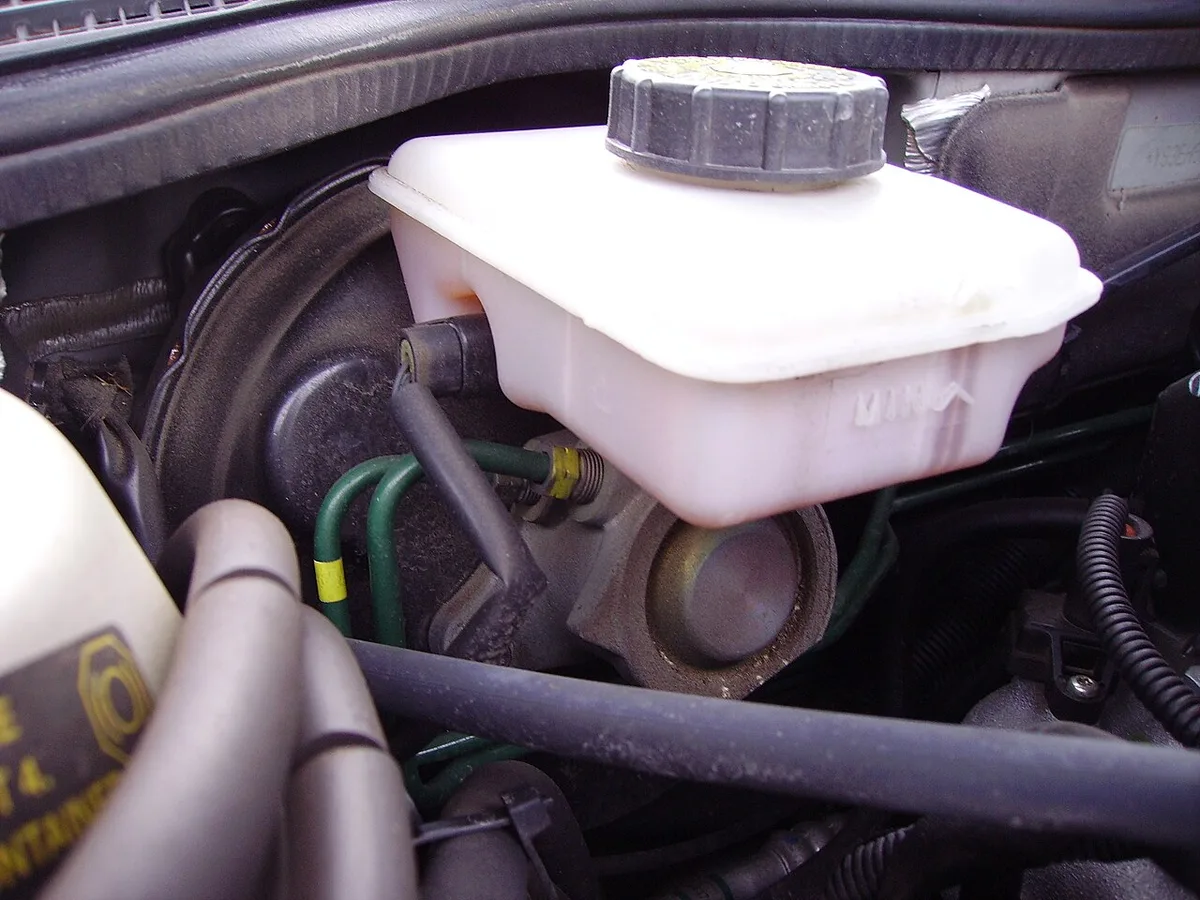
Image source: Wikimedia Commons / Ballista (CC BY-SA)
- Piston and seals (nitrile rubber)
- Reservoir (plastic or metal)
- Primary and secondary chambers (dual‑circuit systems)
- Brake fluid (DOT 3/4/5.1)
When seals crack, fluid bypasses the piston and pressure drops, causing the pedal to feel spongy. A cracked reservoir lets air enter, leading to a pedal that sinks slowly and uneven braking. Wear on the piston bore increases clearance, allowing fluid to leak back into the reservoir instead of the calipers, which can affect the recovery point safety system.
Step-by-Step Process / How to Guide
Park on a level surface and engage the parking brake. Inspect the reservoir for fluid level and condition, then top up with DOT 4 fluid if low. Pump the pedal to purge air from the lines.
Perform a pressure test using a gauge and note the reading. If pressure is below 900 psi, remove the master cylinder and replace it or its seals. Install the new cylinder, reconnect the lines, refill with fluid, and bleed the system.
Test drive and verify pedal firmness.
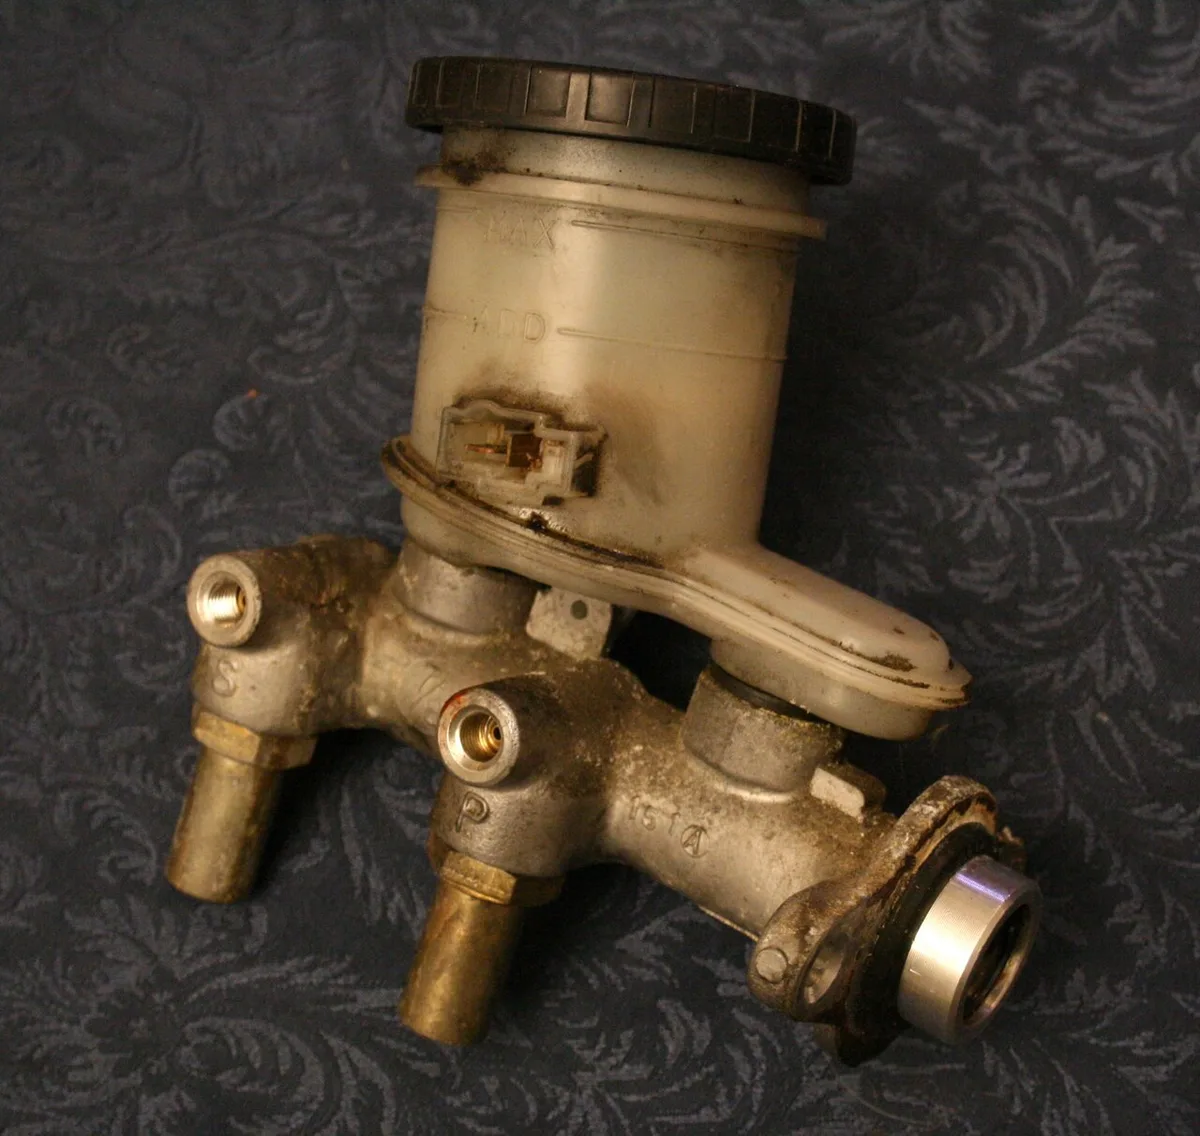
Image source: Wikimedia Commons / Ildar Sagdejev (Specious) (CC BY-SA)
- Park on level surface, engage parking brake.
- Check reservoir fluid level and condition.
- Add DOT 4 fluid if needed, then pump pedal.
- Use a pressure gauge; record reading.
- If low, replace master cylinder or seals.
- Install new unit, reconnect lines, refill fluid, and bleed.
- Verify pedal feel on a short test drive.
When tightening lug nuts after wheel removal, use an impact wrench to achieve the proper torque. This step ensures the wheel stays securely attached during the brake work.
Mistakes to Avoid / Common Errors
Using DOT 3 fluid in a system designed for DOT 4 can cause the fluid to boil under heat and lose braking ability. Skipping the bleed after replacement leaves air pockets that make the pedal feel soft. Ignoring small leaks often leads to complete hydraulic failure.
Reusing old seals is risky because heat and fluid degrade them. Not checking the reservoir cap for cracks can let moisture in and contaminate the fluid, which affects the hand placement safety posture while working.
Frequently Asked Questions
How much does a new brake master cylinder cost?
Aftermarket units start around $80, while OEM parts can reach $400. Labor adds $100, $150 at a shop, but DIY replacement saves that expense. Prices vary by vehicle make and model.
Can a leaky master cylinder be repaired?
Most modern cylinders are sealed and not serviceable; replacing the unit is the safest fix. Some older designs allow seal replacement, but the cost and labor often equal a new cylinder. For safety, replace rather than patch.
How often should I replace the master cylinder?
Manufacturers recommend replacement at 60,000, 100,000 mi or whenever symptoms appear. Regular fluid checks and timely leak repairs extend the interval. If you notice any symptom, inspect and replace as needed.
What brake fluid should I use after replacement?
Use DOT 4 fluid for most 2020‑on vehicles; DOT 3 is acceptable only if specified by the manufacturer. Never mix different DOT types, as this can cause fluid degradation. Flush the system if you switch types.
Do I need a professional to replace the master cylinder?
DIY replacement is doable with basic tools, a pressure gauge, and a brake bleeder kit. If you’re uncomfortable with hydraulic work or lack a clean workspace, a professional shop ensures proper installation and safety.
