
A dead, clicking, or grinding fan lets heat pile up fast. If you came here for how to replace a cooling fan, the real work is matching the part you already have. Frame size, arrow direction, and the plug decide the swap.
Miss one and the new fan will not fit, will blow backward, or will never show a speed.
Desktop fans run on 12 V, and a 120 mm frame uses 105 mm hole spacing. A 140 mm frame uses 124.5 mm. As of 2026 those sizes are still the ones case makers cut their mounts for, so measure the old frame before you order.
Start with the short sequence, then use the visual checks.
How to Replace a Cooling Fan
How to replace a cooling fan starts with power fully off. Unplug the cord and flip the supply switch. Match the frame size and the mounting holes.
Aim the airflow arrow the same way as before. Plug it in, then confirm spin and RPM.
Read the Frame, Arrow, and Plug Before You Buy
Photograph the old fan before it comes out. Capture the arrow, the holes, and the header. That photo replaces a guess later.
Frame size, thickness, and hole spacing
Measure the outer square, the thickness, and the gap between mounting holes.
| Frame | Hole spacing | Usual thickness |
|---|---|---|
| 92 mm | 82.5 mm | 25 mm |
| 120 mm | 105 mm | 25 mm |
| 140 mm | 124.5 mm | 25 mm |
Slim fans are about 15 mm thick. Thick fans are about 30 mm. Pick the slim one when 25 mm hits memory, the side panel, or the graphics card.
A 140 mm fan will not bolt to a 120 mm pattern.
Airflow arrow, wire colors, and connector type
You'll see an arrow on the frame edge. It points to where air exits. A second arrow, when present, shows spin direction.
Do not trust the sticker. Not every brand puts the label on the intake face.
Three pins means DC control. Four pins adds PWM. Intel's four-wire fan spec treats that last pin as a control signal, not more power.
Pin order is ground, 12 V, tachometer, then PWM. Colors vary. Pin order does not.
Copy the Old Fan When You Mount the New One
Shut the PC down. Switch the power supply off. Unplug the cord.
Touch the case metal before the fan. The ESD Association treats that as basic static control.
Hold the fan while the last screw comes out. Press the latch, then pull the plug. Don't pull the wires.
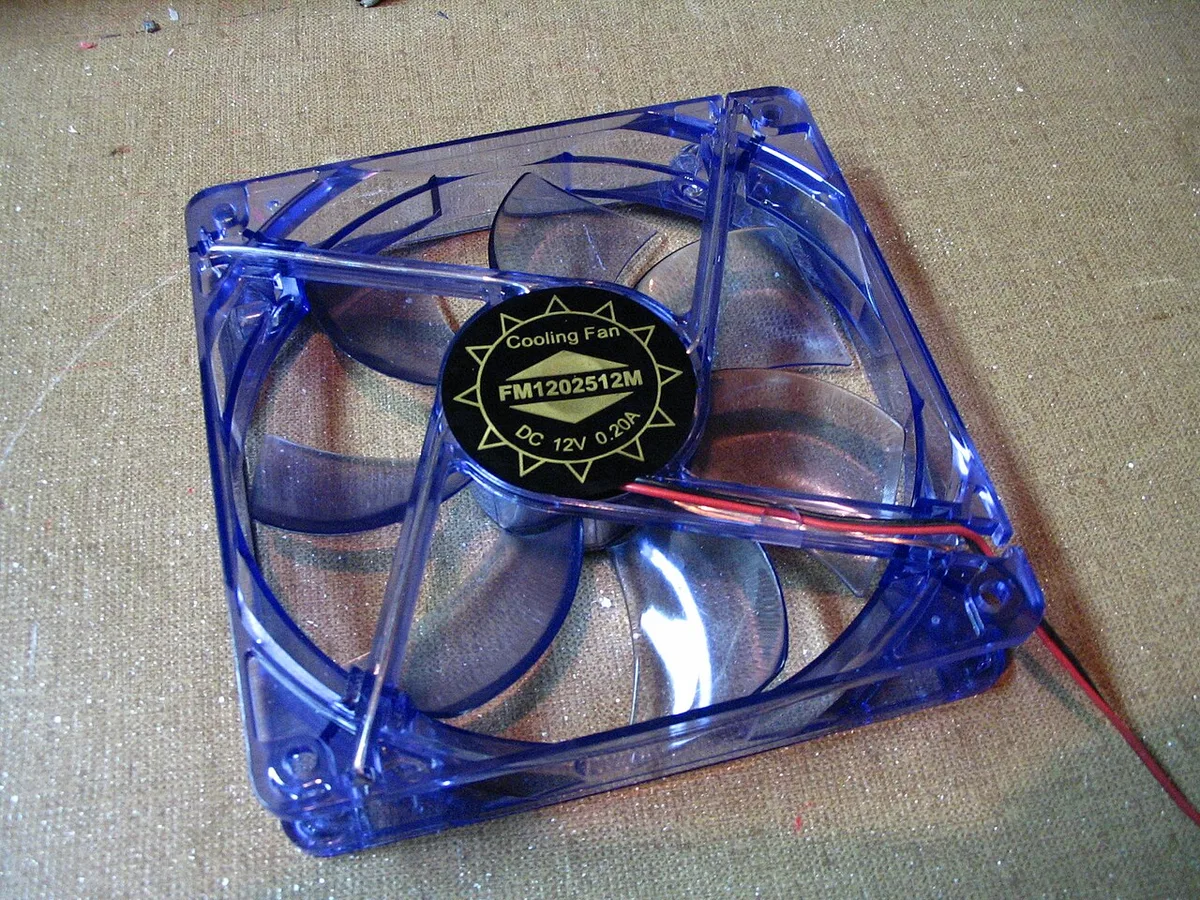
Image source: Wikimedia Commons / Matthieu149 at English Wikipedia (CC BY-SA)
Case, cooler, and radiator fans
Set the new fan beside the old one and match the arrows. Front and bottom fans usually intake, so the arrow points in. Rear and top fans usually exhaust, so the arrow points out.
Reuse the same holes. Snug the screws in a cross pattern so the frame stays flat. Rubber mounts must pass fully through.
A loose one buzzes.
On a radiator, use the cooler screws only. A long case screw can punch into the fins. Stop once the frame sits flush.
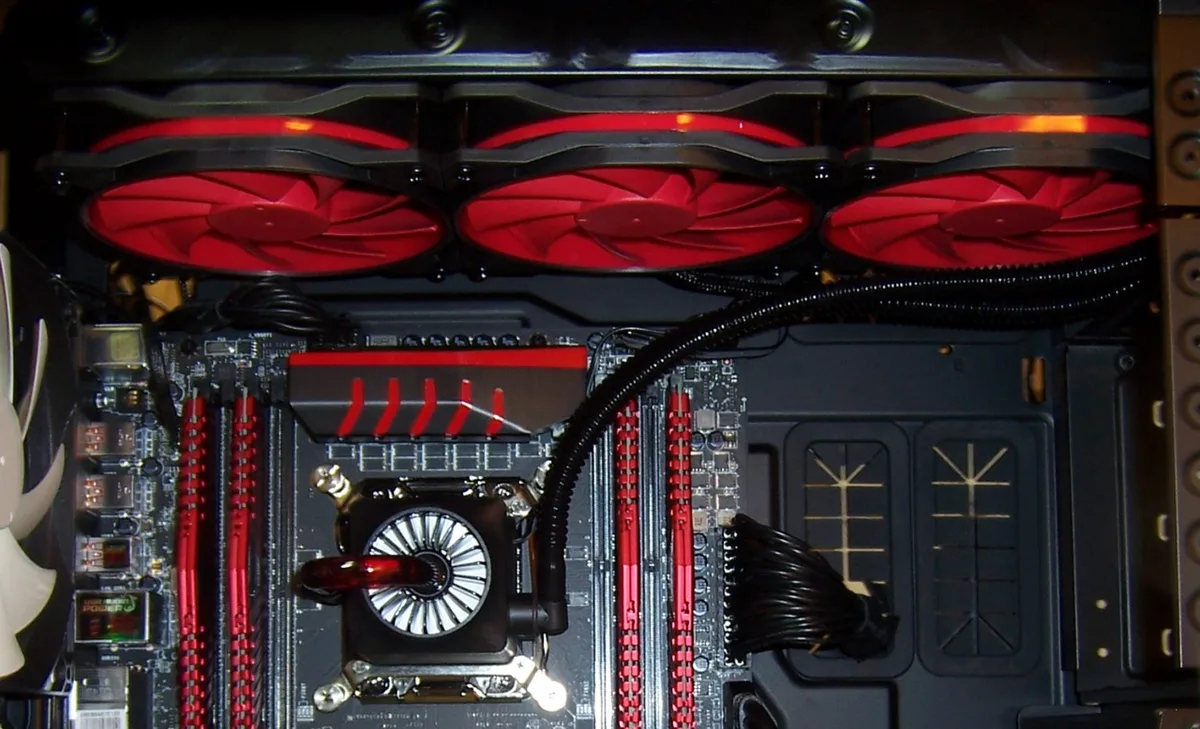
Image source: Wikimedia Commons / DrNegative (CC BY-SA)
Laptop blowers
Unplug the charger and disconnect the battery before the fan plug. Photo the ribbon first. Screws often sit under rubber feet.
If the plug won't lift easily, stop. A torn cable is worse than the noise. Read the service manual if the laptop is still under warranty.
Look Twice Before You Force a Plug or a Screw
In our research, bad swaps come from a forced plug or a screw in the wrong hole. Look before you push.
The plug has a latch and a keyed shell. Light pressure should seat it. If it fights you, it is backwards or on the wrong header.
Forcing it bends pins.
A 3-pin plug can sit on a 4-pin header. The PWM pin stays empty. Set that header to DC in the BIOS.
On PWM mode, a 3-pin fan often runs full speed the whole time.
Do not mix fan plugs with lighting plugs. A 5 V addressable connector is not a 12 V RGB connector. Different shape, different voltage.
Many boards allow about 1 A on a fan header. Confirm it in that board's manual. A loaded splitter can exceed it.
Move extra fans to a powered hub.
Keep the power supply sealed. Charge can remain after you unplug it. Do not flick a connected fan by hand either.
That can push voltage back into the sense pin.
Check Direction, RPM, and Noise Before the Panel Goes On
Leave the side panel off for the first start. Hold a tissue near the fan. Intake should pull the tissue in.
Exhaust should blow it away.
If an exhaust fan sucks the tissue in, shut down and flip the fan.
Open the BIOS. The cooler fan on CPU_FAN should show RPM. A CPU fan error with a spinning fan usually means that plug is on a chassis header.
Move it and boot again.
Then run a short load and listen. A tick that tracks RPM is often a cable or a loose screw. A grind that remains after the screws are snug is a bad bearing.
Set a new fan curve once RPM looks steady. The old curve can surge a quieter fan, or leave it too slow while the CPU heats up.
Cooling Fan Replacement FAQ
Which way should a case fan face?
The arrow decides it. Point it into the case on a front or bottom intake. Point it out on a rear or top exhaust.
Copy the old arrow if that layout already kept temperatures in check.
Can a 3-pin fan plug into a 4-pin header?
Yes, line up the key and leave the PWM pin empty. The fan still gets 12 V and still sends a speed signal. Set the header to DC, or it often runs at full speed.
Never bend the key to force a different socket.
Why do I get a CPU fan error after the swap?
The board wants a spinning fan on the CPU_FAN header. A live fan on a chassis header still trips the warning. Move the cooler lead to CPU_FAN and reboot.
If RPM shows and the warning stays, raise the BIOS minimum speed.
Is a laptop fan the same swap as a desktop fan?
No, this is a tighter job than a desktop fan. Unplug the charger and disconnect the battery before the fan plug. Photo the ribbon, and watch for screws under the rubber feet.
Stop if the plug needs force, and read the service manual while the laptop is under warranty.
