
A rear clunk, a wandering tail, or tires that cup on the inside usually means the trailing arm or its bushings have given up. If you're sorting out how to replace a trailing arm, the hard part isn't the wrench. It's seeing where the arm, cam bolts, and knuckle meet before anything comes loose.
Manufacturer specifications often call for final torque with the suspension sitting at ride height. Many of those fasteners fall between 50 and 120 ft-lbs as of 2026. Get the sequence wrong and the new bushings bind.
Here's the short version, then the visual cues that keep the job straight.
How to Replace a Trailing Arm
How to replace a trailing arm means swapping the rear locating link. Support the car on rated jack stands first. Mark cam bolts, then unbolt the arm.
Install the new arm and torque at ride height. Book a wheel alignment before you drive far.
Why Visuals Matter When Replacing a Rear Trailing Arm
A trailing arm is the longitudinal link that holds the rear wheel's fore-aft position. On most passenger cars it runs from a chassis bracket to the knuckle. Photos of that path matter more than a generic bolt list.
The same job changes with the car. A simple stamped arm is easy to trace. A multi-link setup hides the trailing link beside a lateral arm.
Loosen the wrong bar and toe and camber both walk off.
Diagrams should show three things at once. The chassis pivot. The knuckle bolt.
The eccentric cam washer, if the car has one. Without that picture, people mark the wrong fastener and lose the old alignment.
In our research, salt-belt cars add another visual clue. Orange crust around the through-bolt usually means it will fight you. A clean bolt on a dry-climate car often slides out with a breaker bar.
That gap is why the job runs about 1.5 to 4 hours per side.
Support the car only at approved lift points. A hydraulic jack lifts. It does not hold.
NHTSA guidance treats worn suspension and bad tires as a handling risk, so don't skip the stands.
Trailing Arm Components and Key Visual Identifiers
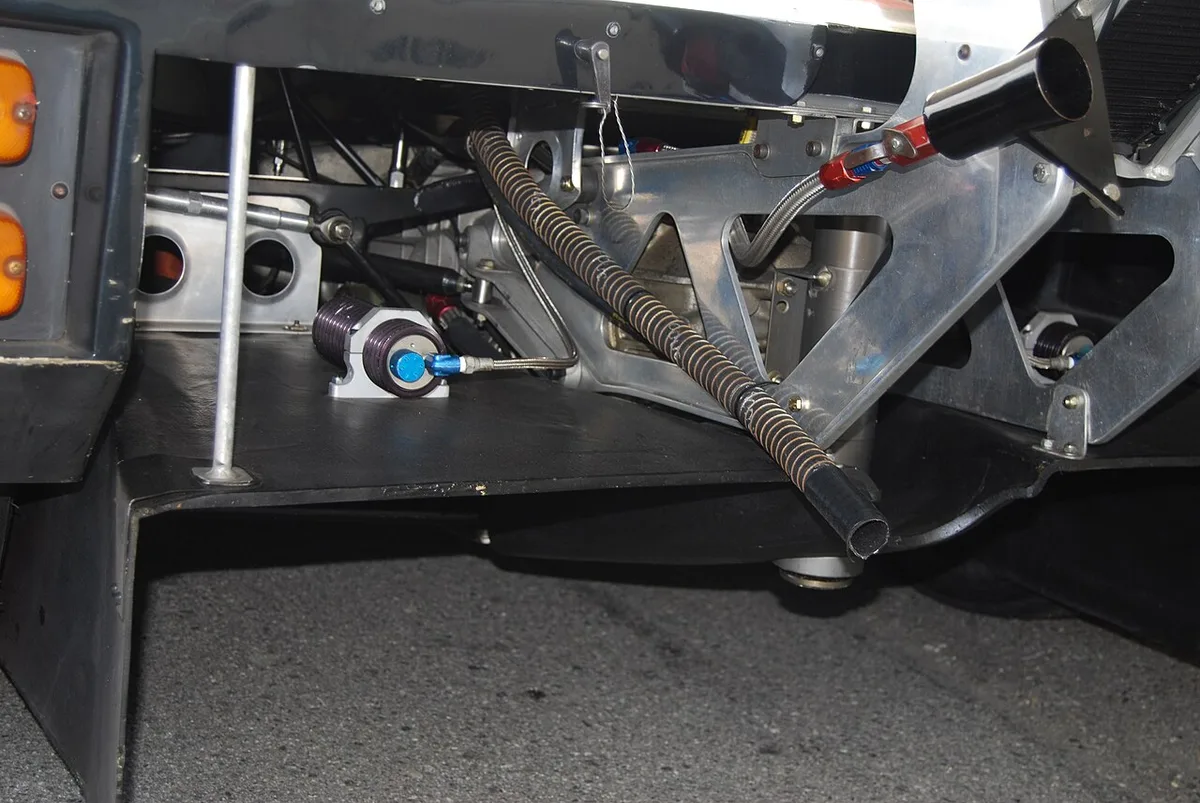
Image source: Wikimedia Commons / Bill Abbott (CC BY-SA)
Trace the arm in the photo from end to end. One end is a large bushing eye that bolts to the subframe. The other end bolts to the knuckle, sometimes with a flange and two smaller fasteners.
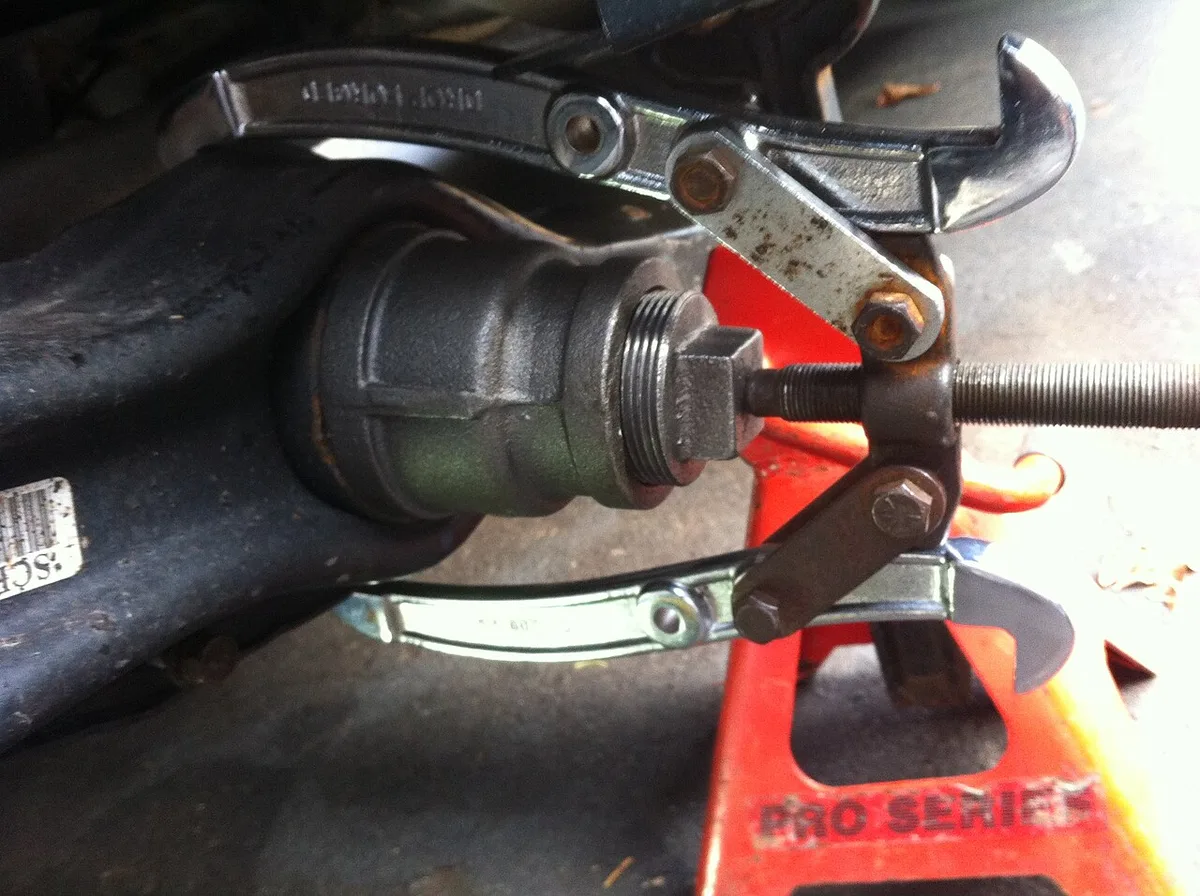
Image source: Wikimedia Commons / Muundahweed
The second photo is the part that actually wears out. A healthy rubber bushing looks even and bonded to its sleeve. A failed one shows cracks, a shifted center, or rubber torn off the metal.
What should you see before you order parts?
Match the arm side and the bushing style to the car, not to a generic photo. Left and right arms are often mirrors. Press-fit bushings need a press.
Bonded bushings usually mean you replace the whole arm.
| Visual cue | What it usually means | Typical fix |
|---|---|---|
| Cracked rubber, arm still straight | Bushing wear | Bushing or full arm |
| Bent arm or torn mount | Impact damage | Full arm |
| Eccentric washer on the bolt | Alignment adjustment | Mark it before removal |
| Heavy scale on the bolt | Seized hardware | Penetrating oil, maybe cut the bolt |
Stamped steel arms are common and heavier. Cast aluminum arms show up on some newer cars and crack instead of bending. If the aluminum looks creased, don't reuse it.
Quality matters here the same way it does when you're weighing pricier steering links. Soft rubber rides quieter. Polyurethane feels tighter and can pass more noise into the cabin.
Trusted OEM-style ends follow the same idea. Match the stiffness to how you drive.
Step-by-Step Visual Guide to Replacing a Rear Trailing Arm
Work one side at a time so the other side stays a reference. Chock the front wheels. Lift the rear and set it on rated jack stands.
A simple wooden ramp setup can help you get the car up, but stands still carry the load.
| Tool | Why you need it |
|---|---|
| Floor jack and jack stands | Lift and hold the car |
| Torque wrench | Hit the spec, not a guess |
| Penetrating oil | Free corroded bolts |
| Paint marker | Record cam bolt position |
| Bushing press, if rebuilding | Seat the new bushing straight |
- Break the lug nuts loose before the wheel leaves the ground. An impact helps with breaking the wheel fasteners loose, then finish by hand.
- Remove the wheel. Support the knuckle with a second jack so the brake hose and ABS wire don't hang.
- Find the cam bolt. Mark the washer edge against the bracket with paint. A photo of that mark is your backup.
- Soak the nuts. Loosen the chassis bolt and the knuckle bolts. Don't pull the arm while a sensor wire is still clipped on.
- Slide the old arm out. Compare it with the new one. Bushing eyes must face the same direction. A flipped bushing binds on the first bump.
- Start every nut by hand. Snug them, then set the suspension at ride height if the manual wants loaded torque. Torque to the vehicle spec.
- Reinstall the wheel. Road-test for clunks, then get an alignment. Toe is the number that usually moves.
Some bolts are torque-to-yield and should be replaced, not reused. If your manual calls for new fasteners, use new ones.
Common Visual Mistakes to Avoid
The costly miss is a cam bolt that goes back "about where it was." If the paint mark doesn't line up, toe is off. The car will pull, or it will chew a tire edge within a few hundred miles.
Another miss is torquing the bushing bolts with the wheel hanging. The rubber twists as the car settles. You'll hear a groan over bumps, and bushing life drops well short of the usual 60,000 to 100,000 miles.
Watch the brake hose and the ABS lead while the knuckle hangs. A stretched wire looks fine until the wheel turns. Also check the bushing voids, the small gaps in the rubber.
They should point the same way as the old part.
Don't work under a car held only by the jack. Don't skip the alignment to save the typical $80 to $150 shop fee. SAE fastener practice and your vehicle manual both treat correct clamp load as a safety item, not a suggestion.
Frequently Asked Questions
How long does a trailing arm replacement take?
Most DIY jobs take 1.5 to 4 hours per side. Clean hardware on a dry-climate car sits at the short end. Rusted bolts, a press-in bushing, or a multi-link layout push you toward 4 hours.
Book the alignment the same day so you aren't driving on a guessed toe setting.
Can I replace just the bushings?
Yes, if the arm is straight and the bushings are press-fit or otherwise serviceable. You'll need the right press adapters and the correct orientation. If the arm is bent, rusted through, or the bushing is bonded in place, replace the whole arm.
A cracked aluminum arm is never a bushing-only repair.
Do I need an alignment after replacing a trailing arm?
Yes. Removing the arm almost always shifts rear toe, and it can shift camber too. Drive only far enough to reach an alignment rack.
Skipping that check is the fastest way to ruin a fresh set of tires. Most shops charge about $80 to $150 for the measurement and correction.
What torque should the trailing arm bolts get?
There is no single number that fits every car. Many passenger-car specs fall between 50 and 120 ft-lbs, and some bolts must be tightened at ride height. Use the torque and the procedure in your vehicle service information.
Replace any bolt the manual lists as torque-to-yield.
