
If your rear brakes feel spongy, the wheel cylinder is often the culprit. Learning how to replace a wheel cylinder can restore pedal firmness and safety. The process is straightforward for DIY mechanics and takes about one to two hours.
Per FMVSS 105, brake pedal travel must not exceed 30 mm during emergency stops. Let’s walk through the steps so you can get back on the road confidently.
How to Replace a Wheel Cylinder
Remove the wheel and disconnect the brake line. Unbolt the drum and pull out the old cylinder. Install the new cylinder and torque bolts to 12 ft lb.
Bleed the system and test pedal feel. Re‑install the drum and verify brake function.
Core Explanation & Components: How a Wheel Cylinder Works in a Rear‑Drum Brake
The wheel cylinder sits inside the drum brake and pushes brake shoes outward when hydraulic pressure arrives. It contains a piston, seals, and a spring that returns the shoes after each stop.
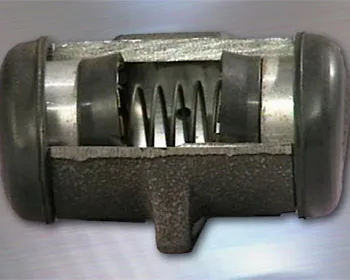
Typical cylinders have a 0.75‑in bore and hold about 0.5 L of DOT 3 or DOT 4 fluid. Manufacturers such as Raybestos list torque for mounting bolts at 12 ft lb to prevent distortion. Use a torque wrench for tightening lug nuts to the spec.
Safety is critical; a leaking cylinder can cause brake failure, so always replace seals if they show wear. For authoritative guidance, see the FMVSS 105 brake safety standard.
Step-by-Step Process: Replacing a Wheel Cylinder on a Typical Vehicle
Start by securing the vehicle on jack stands and removing the wheel to access the drum. Disconnect the brake line using a line wrench, then remove the drum with a puller if it’s stuck.
| Item | Purpose | Typical Spec |
|---|---|---|
| Jack stands | Support vehicle | Rated 2,000 lb |
| Line wrench | Loosen brake line | 12 mm |
| Drum puller | Remove stuck drum | Adjustable |
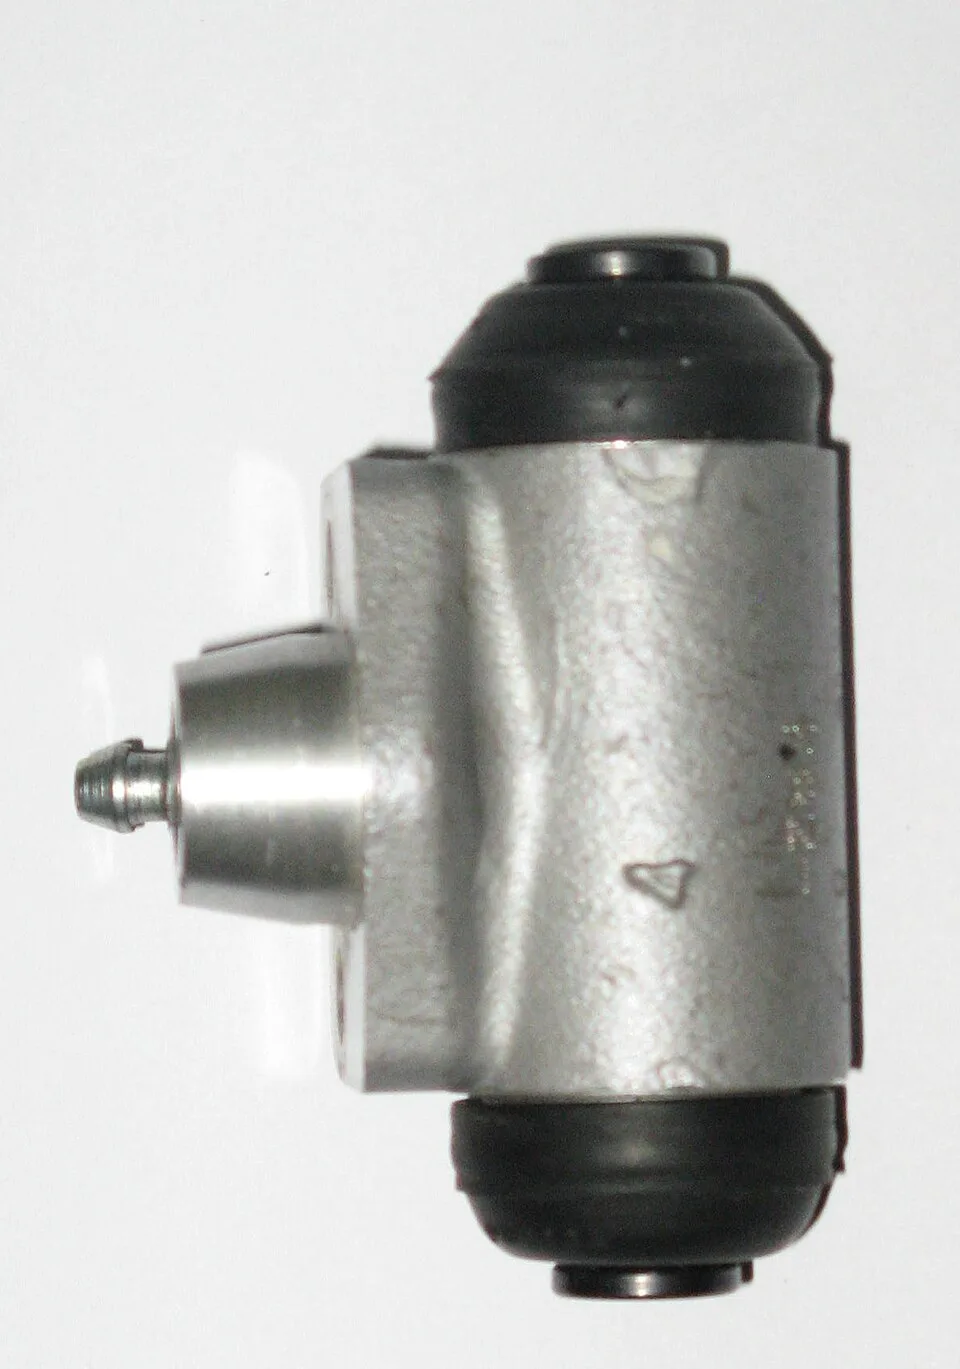
| New wheel cylinder | Replace old unit | 0.75‑in bore |
| Brake fluid (DOT 3/4) | Fill system | 0.5 L |
Park the car on a level surface, engage the parking brake, and place wheel chocks behind the opposite wheels. Remove the brake drum, unbolt the cylinder, and pull it straight out. Install the new cylinder, torque the bolts to 12 ft lb, and reconnect the brake line.
Bleed the system to remove air, then reinstall the drum and test pedal feel before driving.
Mistakes to Avoid & Safety: Torque Specs, Leaks, and Legal Fluid Disposal
Common mistakes include reusing old fluid, ignoring corroded pistons, and over‑torquing mounting bolts. Reusing fluid can introduce air bubbles that cause pedal sponginess later.
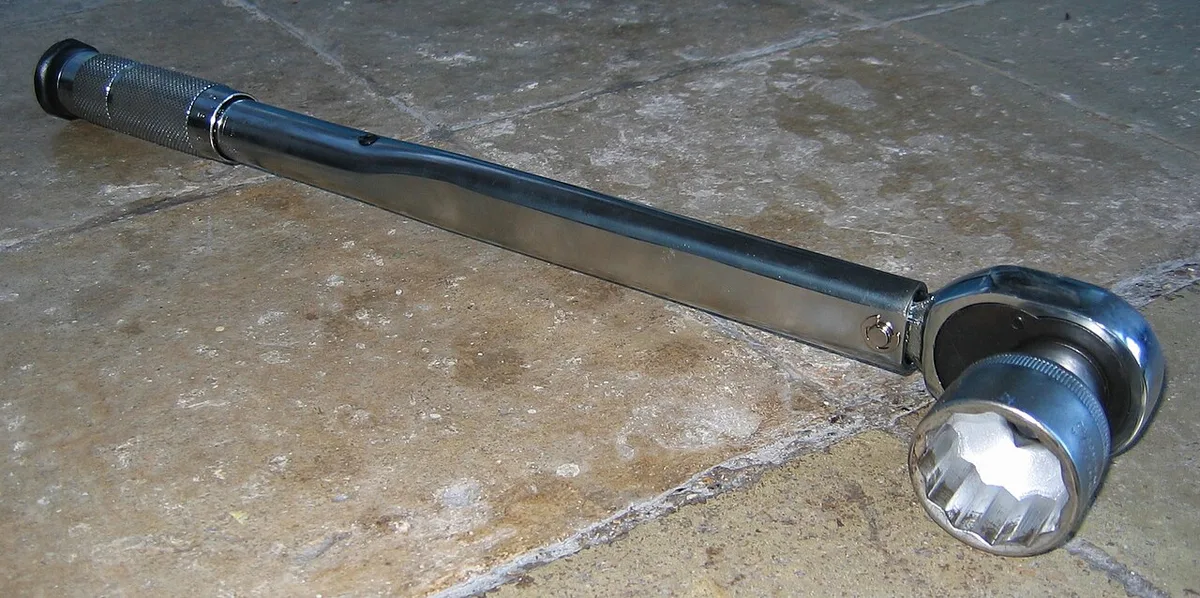
Always torque the cylinder bolts to the manufacturer’s spec, typically 12 ft lb, using a calibrated wrench. If you don’t have a torque wrench, borrow one from a local shop to stay safe.
Used brake fluid must be disposed of according to local hazardous waste rules; DOT 3 and DOT 4 are not recyclable. For disposal guidelines, refer to OSHA’s chemical waste page.
FAQs: Your Top Questions About Wheel Cylinder Replacement
How long does a wheel cylinder replacement take?
Most DIY mechanics finish in one to two hours, including bleeding the system. Rushing can miss air bubbles, so take your time and double‑check torque.
Can I replace a wheel cylinder without a drum puller?
If the drum is rusted, a puller makes removal easier and prevents damage. If you don’t have one, tap the drum gently with a rubber mallet while rotating it.
Do I need to replace brake shoes at the same time?
Not always. Inspect the shoes for wear; replace them only if they are at the service limit. New shoes can be installed later without affecting cylinder function.
What happens if I use the wrong brake fluid?
Mixing DOT 3 and DOT 4 can lower the boiling point and cause brake fade under heavy use. Stick to the manufacturer’s recommendation and flush the system if you’re unsure.
How often should I inspect the wheel cylinder?
Check it whenever you service the drum brakes or notice spongy pedal feel. Visual inspection for cracks or leaks should be done annually per most service manuals.
